This plugin is available on the Unity Asset Store(http://u3d.as/1USu) 。
This is a log type article to give you guys a reference for ideas and hopefully you can gain some knowledge from me.
In mid-April of this year, I officially set out to start my first semi-commercial, semi-experimental project. The project, is a game that focuses heavily on text-based dialog, multiple branching options, multiple endings, investigating and exploring in the environment, and sneaking in to eavesdrop and spy. I’ll talk more about my game at the end of this post.

Establishing the need
While working on the technical difficulties and feasibility of this project, I recognized that one of several major difficulties lies in the text of my game. This game is a very plot and characterization oriented game. Because the team’s art abilities were not strong, most of the art was done by a programmer like myself. In the end, we compromised on a pixel style. And again, since performances and conversations occur quite frequently in our game, it became a big problem to show great performances under the pixel style. Animation in itself is hard to do, let alone frame-by-frame animation in pixel art.
So I immediately thought that a way out should be found in another area. Looking back at many of the pixel-based games on the market that focus on plot, it’s easy to see that working on the way text is displayed and special effects is a very convenient and effective approach. A game I played three years ago, Golf Story, quickly came to mind.
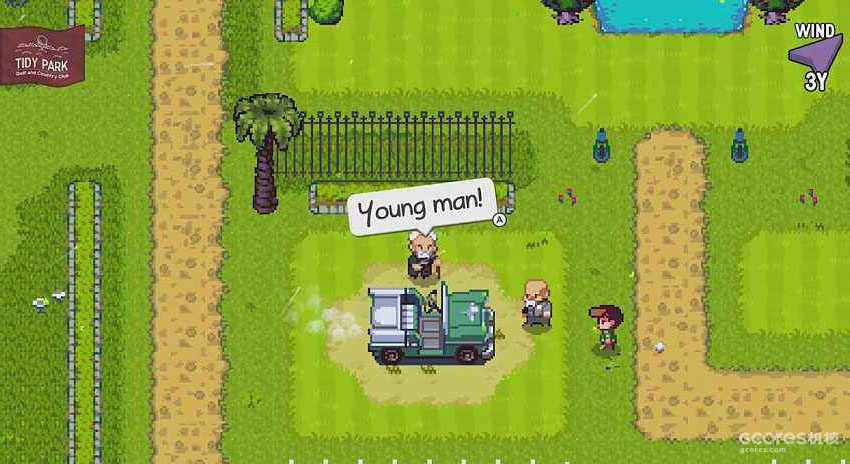
At the time, the game Golf Story impressed me the most, aside from the use of HD vibrations on the NS, was his text display. It was also the first time I saw a game that could actually be so versatile and diverse in its text display, utilizing this simple, coarse pixelated screen to show off a compelling performance.
And the characters in Golf Story are barely animated specifically for transitions, with only a few emoticons showing up and characters moving around. This solution fits my needs quite well.
Finding Solutions
So I started to look for a suitable molded solution on the market first, and Fungus was one of the options that seemed to be a good choice. the benefits of Fungus are twofold, it’s free to use commercially and it’s easy to use, Fungus enables intuitive line writing by means of node diagrams, and Fungus comes with a number of special effects already in place.

However the important problem with Fungus is that he has a hard time interacting with the code I wrote myself, and it’s very inconvenient for me to try to add other kinds of effects to him. That’s why I felt I had to write one of my own to make it work. Because the only way to add all kinds of effects is to write it yourself, so that the whole system can work the way you envisioned. I want to know clearly how the whole system is running, which is very helpful for future Debug and maintenance.
Besides, Fungus is a complete set of finite state machine editing tools, and he’s so complete that I can make a game without writing any code, just editing the node graph, and I don’t need such a lot of complicated features. Such a complex system always felt like a time bomb in my own projects, and it might clash with some other code I had. Other similar line systems either don’t meet the requirements or are too expensive for me to spend as a developer who needs to save money.

If the search fails, do it yourself
When I officially started working on a similar tool on my own, the biggest difficulty came in the implementation of the node map. I actually gave up on using a node graph at first because it was just too hard to implement a similar feature in unity. So at first my line writer looked like this:

I implemented each line of dialog in the form of a list and put a little person in the middle to show the effect of that line, and after editing I needed to save the file as a Json format file and then read it in Unity. Don’t look at this tool as a poor seller, but the basic functionality is there, except for the fact that it’s still a bit tedious to write up the lines.
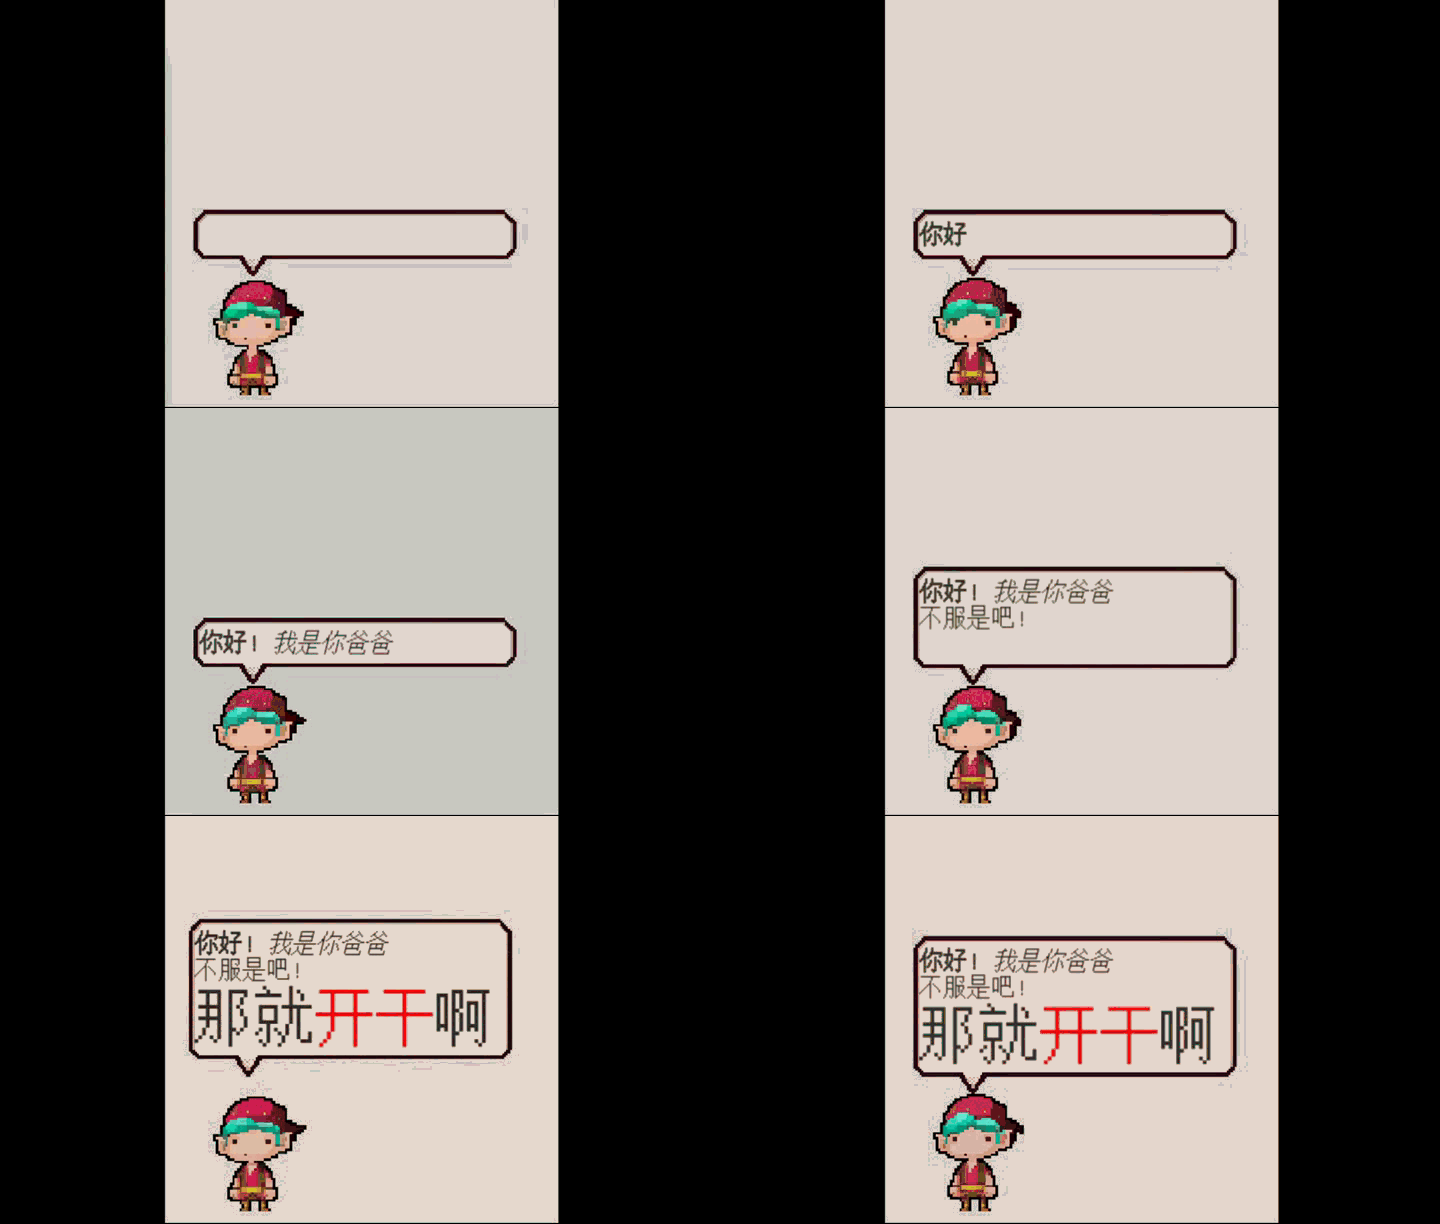
And the effects corresponding to this look can be realized without writing any code when writing lines. Just write it like this:

Although the main functionality has been implemented, it’s still a struggle to actually use it and write lines, especially when it comes to options. Option writing:

The original options function was very complicated to write; when I wanted the options to jump to a particular sentence, I needed to enter the number of that sentence. And whenever I reordered the dialog, I needed to reassign the number. Although I later thought that I could identify each sentence by a unique code, but in that case, why not make a node graph?
Still want to make it node graph
At first I tried the most complicated approach, which is to handwrite a node graph from scratch using the code within UnityEditor. Although the basic functionality was already implemented at that time, saving and reading the node graph became a big problem. I later learned that Unity had opened up an experimental feature, GraphView, which is actually part of Unity’s recently updated Shader Graph, whose node graph editing functionality is written in GraphView.

The limitation of GraphView is the closed nature of its node functionality, which is poorly customizable for GraphView. By this time, I had spent more than a week on researching various node graphs, and just when I was at a loss and ready to give up, suddenly a plugin called xNode came into view.

The free commercial nature of xNode, its small size, UnityEditor-based source code, and high degree of customizability all fit my needs for a node graph. After a quick study, I was able to build my dialog system in less than two days.

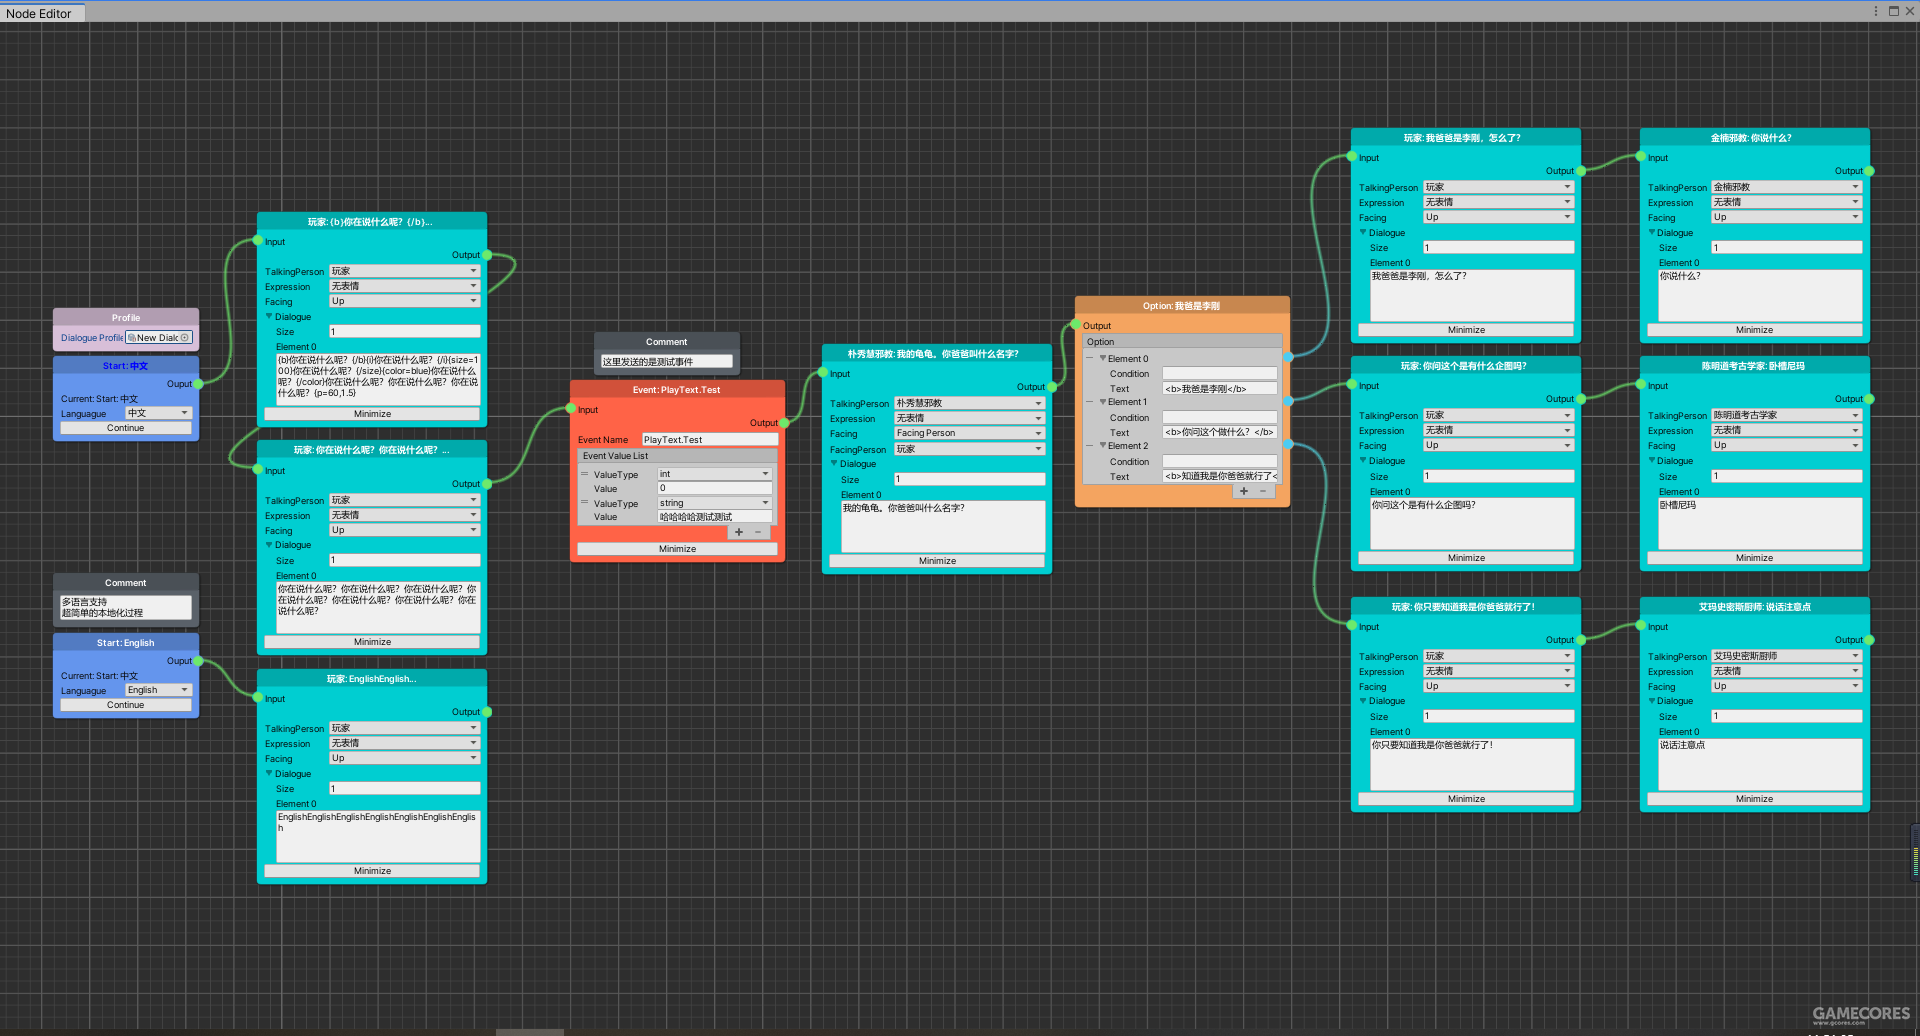
As you can see, at this point my node editor already looks like it’s working properly compared to the previous line writer. Also, the localization support is very easy to use, you can customize the language you want, the characters in your game, and create a list of replacement characters, which I haven’t made localization related support yet, but will add it later. You can customize the sound of the player’s voice, or use a uniform sound effect.

Come and see the results:
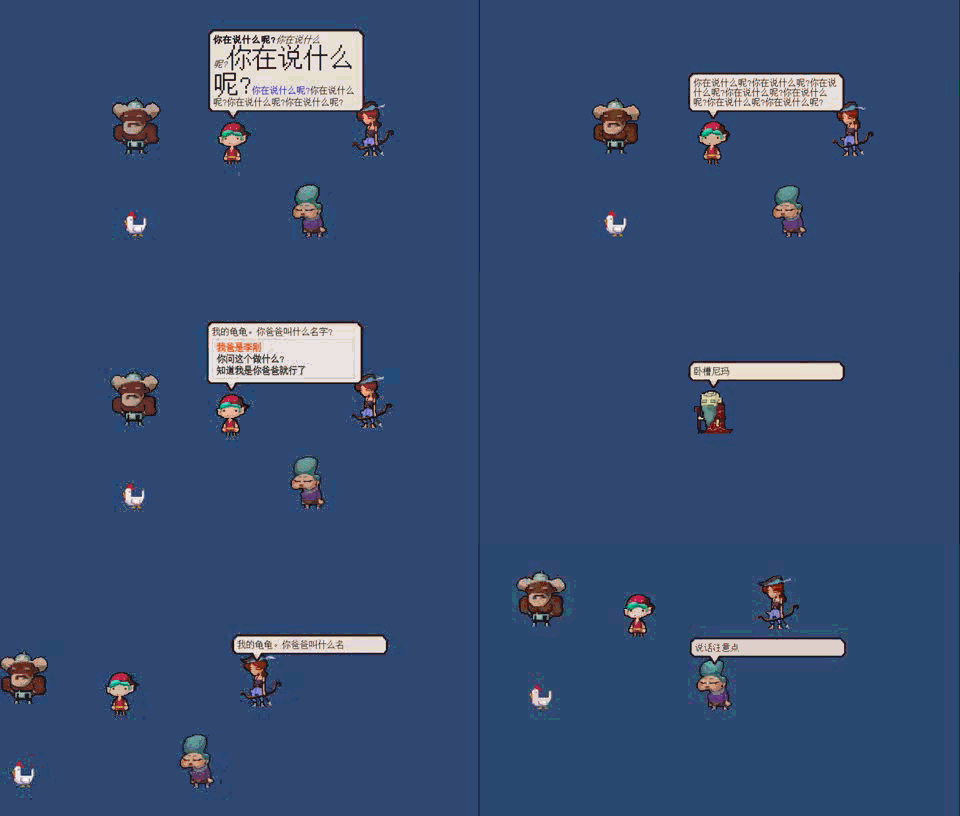
The node graph now fits very well with the actual running of the game.
And most importantly, my dialog editor can interact with other code very simply and efficiently.

This is an event node. Let’s say we want to trigger an event called “PlayText.Test” and pass two variables, an integer “0” and a string variable “hahahahaha Test”. Then with just one line of code you can get the event trigger and the variables in your own code.

I’ve created an event center where all you need to do is add an event listener anywhere other than an Awake function and delegate a function to the event center. In the function you delegate, you can then write whatever you want to trigger.
Simple text effect but actual very complex
After all this, I think my dialog system is pretty much perfected, and now it’s just a matter of realizing a few little special effects to make it all work, however, these last few little effects are really hard for me.
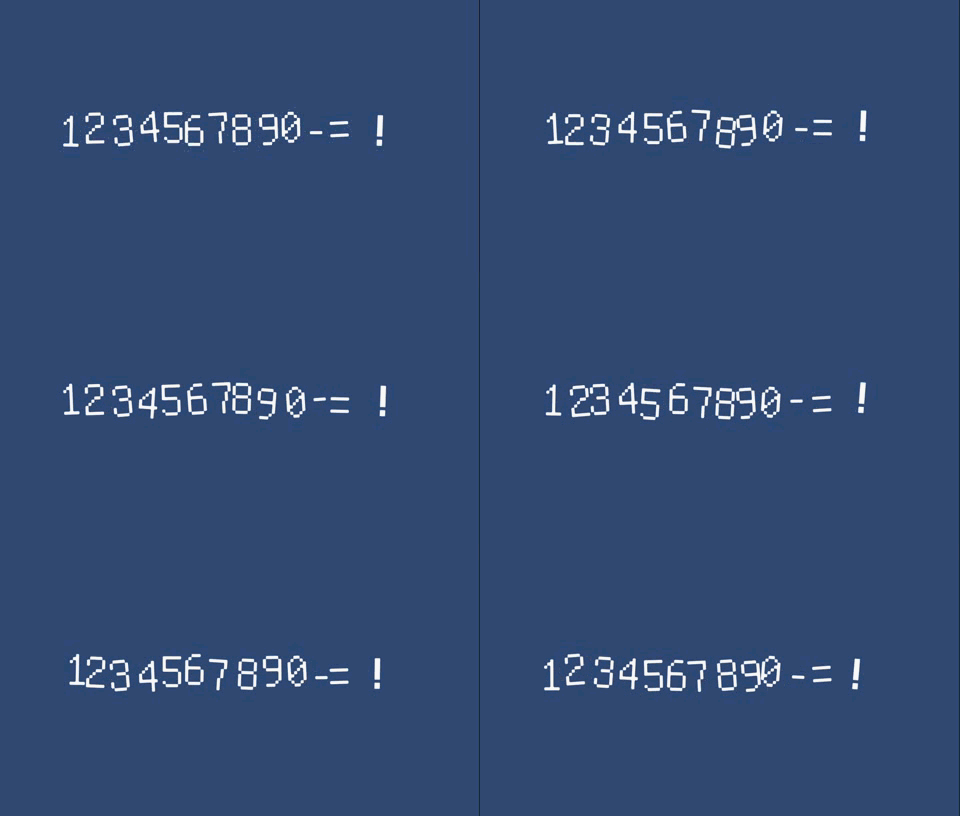
To realize such a text effect, each word has to be counted separately. So I had to give up on Unity’s UGUI Text and use TextMesh Pro, a plugin that renders each word in a separate TextMesh, which is more versatile than Unity’s UGUI, but also more complex.
And worst of all, while the TextMesh Pro example has the effect I want, all the dithering effects are reset every time there is any update to the font, so that if my words are appearing one by one, the other words are constantly being reset to their initial positions as they appear. If the words appear fast enough, the effect of the other words dithering will be very unnoticeable.
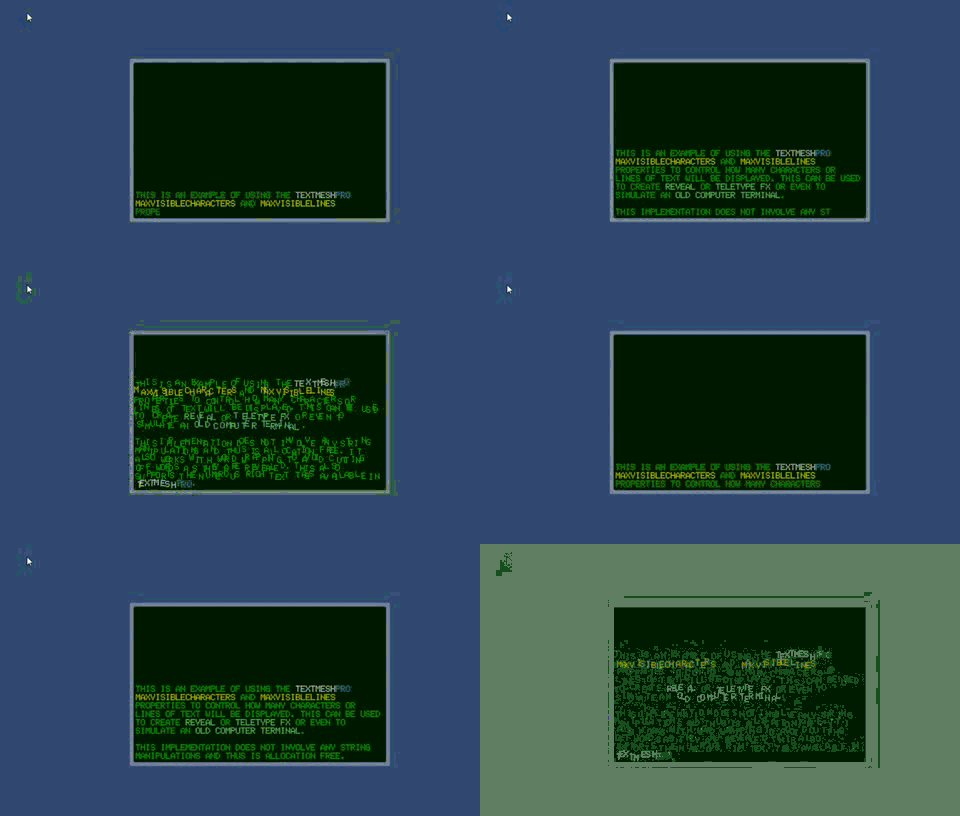
As you can see in the picture above, when the words appear fast enough, the other words don’t even move a bit anymore. It wasn’t until all the words appeared that he started shaking.
This process ended up taking me a very long time to learn how TextMesh Pro works and how to use it, and I finally implemented such a feature a day and a half later:

Finally the appearance of the word won’t affect the previous text.
Then connect the font effects and the dialogue editor to achieve the following effects:
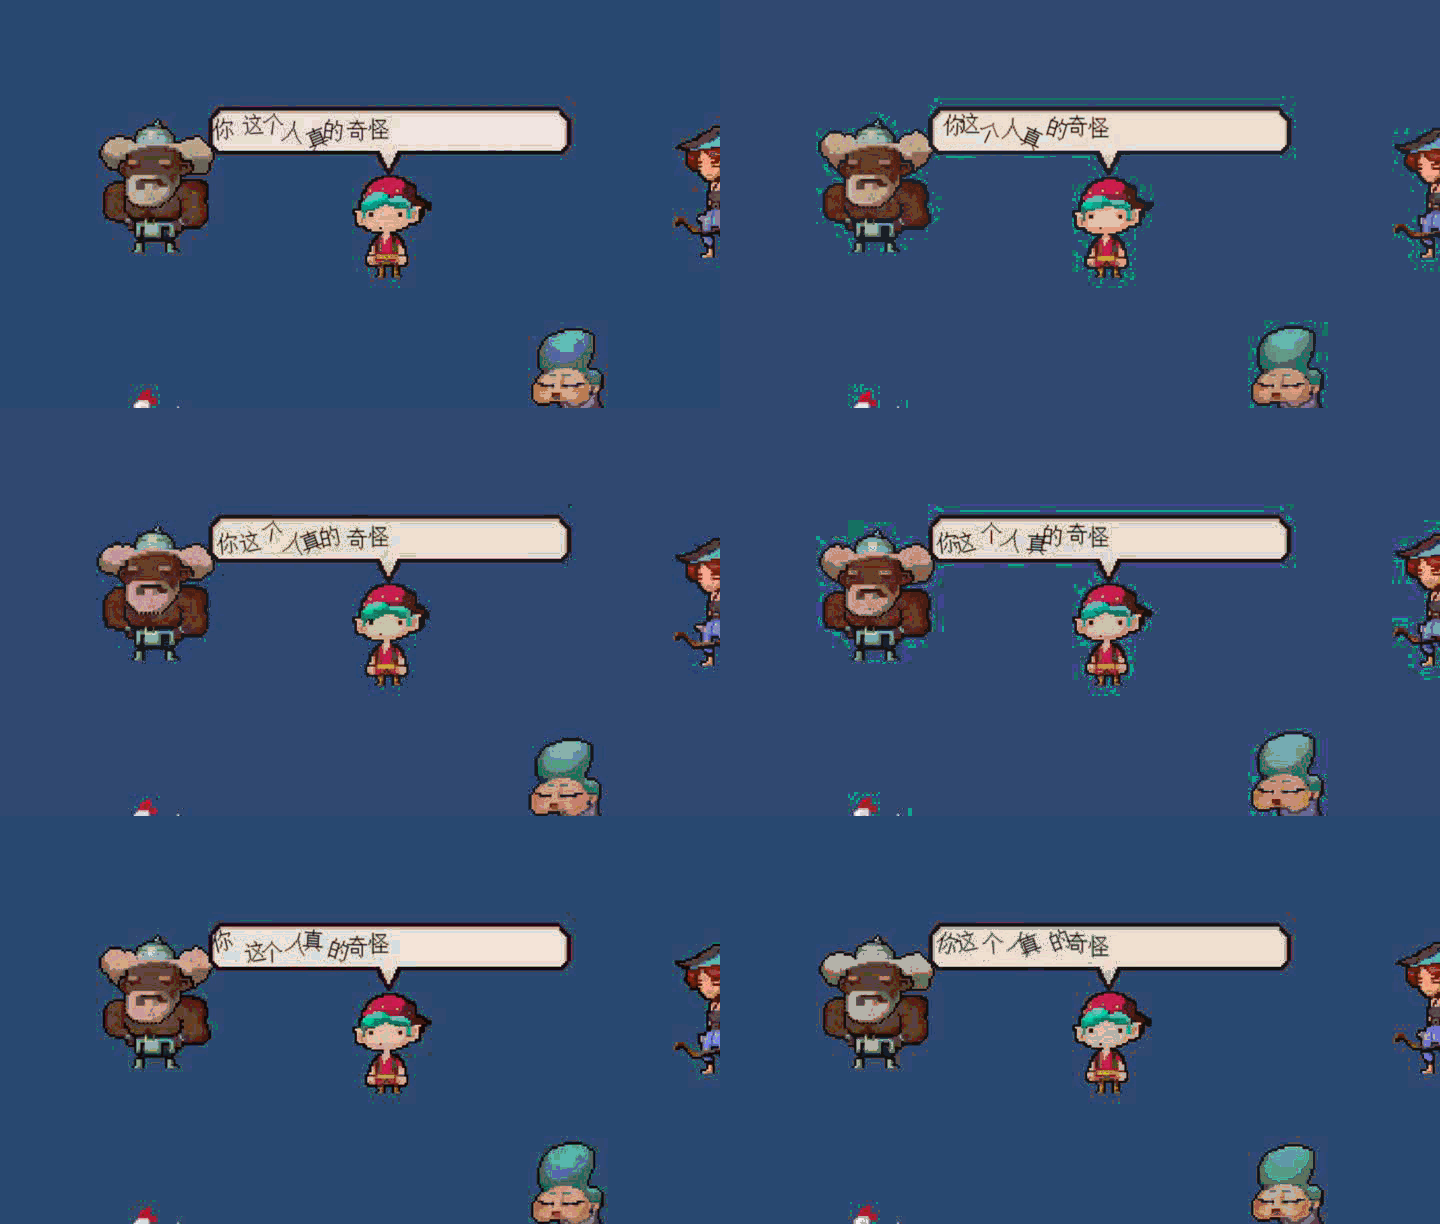
The lines only need to be written like this: “<sh=5,50>你这个人真的</sh><wa=4>奇怪</wa>”
This effect looks very exaggerated, but don’t worry, you can freely specify its momentum and size when writing pronouns.
At this point, most of the hard parts have been overcome, and only Debug and refinement of the interface remain.
This plugin is currently for sale on the Unity Asset Store for those interested.
Link:http://u3d.as/1USu
Comments are closed